
Night photography can be a magical endeavor, capturing the mystery and beauty of the world after the sun goes down. However, one of the greatest challenges is lighting. With the right techniques and tools, you can transform your night photos from mundane to mesmerizing. Here’s a guide on how to add light for stunning night photography.
- Understanding the Basics of Night Photography
Before diving into lighting techniques, it’s essential to understand the fundamentals of night photography:
- Long Exposure: Utilizing long exposure times allows more light to hit the camera sensor, creating brighter images. Use a tripod to avoid camera shake.
- High ISO Settings:Increasing the ISO sensitivity of your camera can help capture more light, but be cautious of noise.
- Wide Aperture: A wider aperture (lower f-stop number) lets in more light, essential for night shots.
- Choosing the Right Lighting Equipment
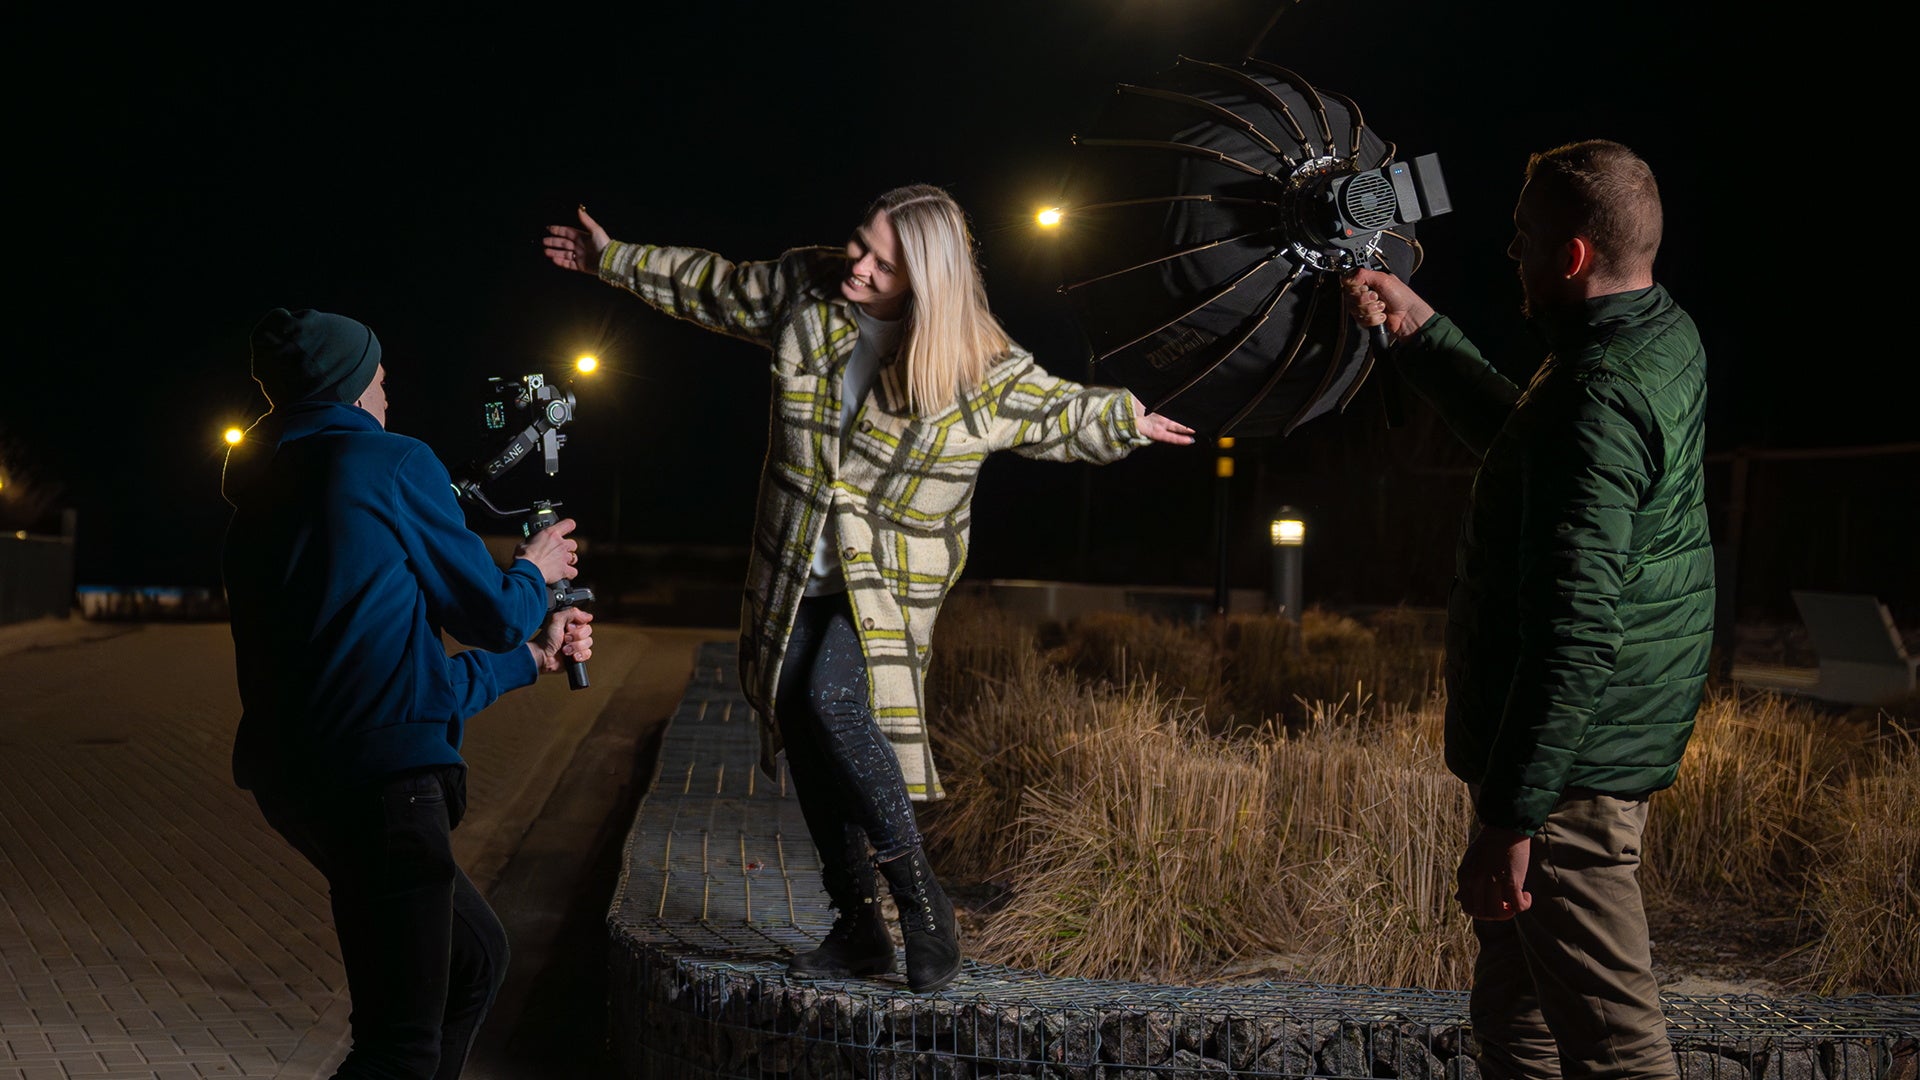
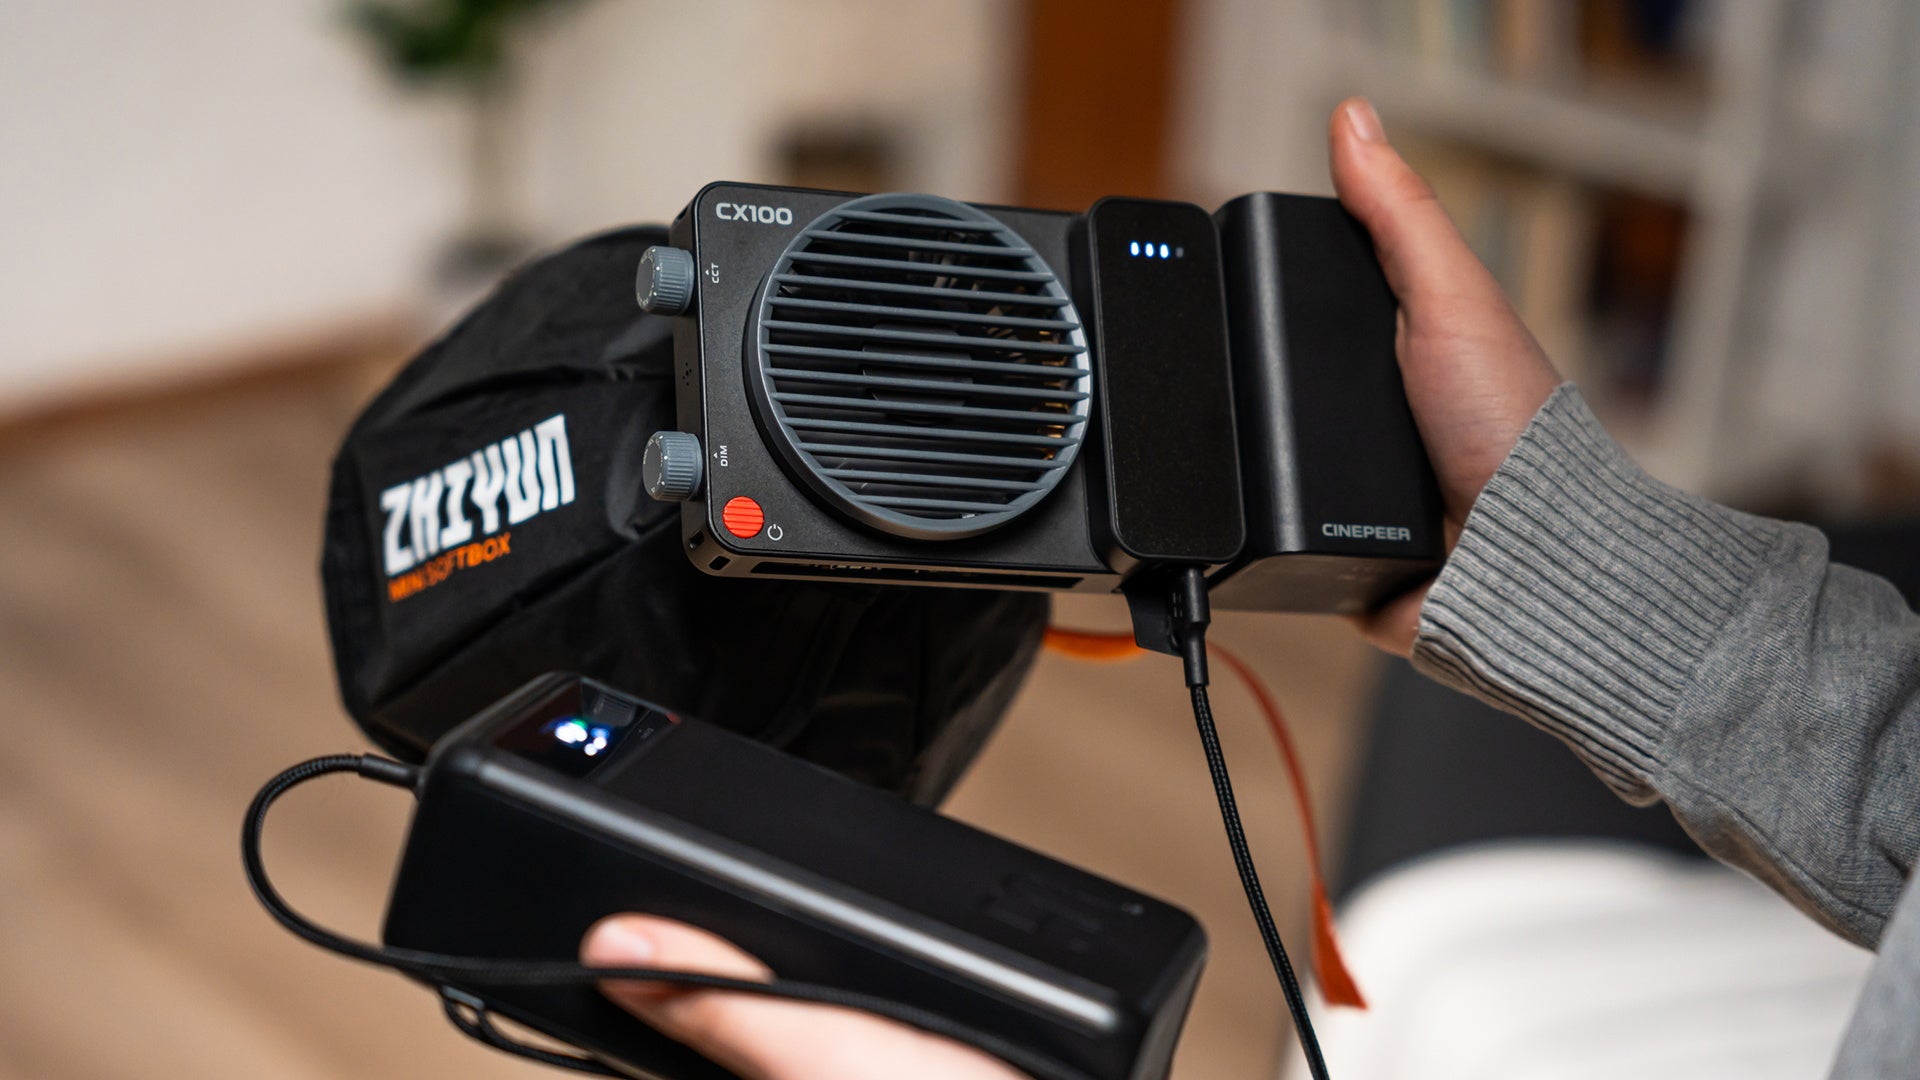
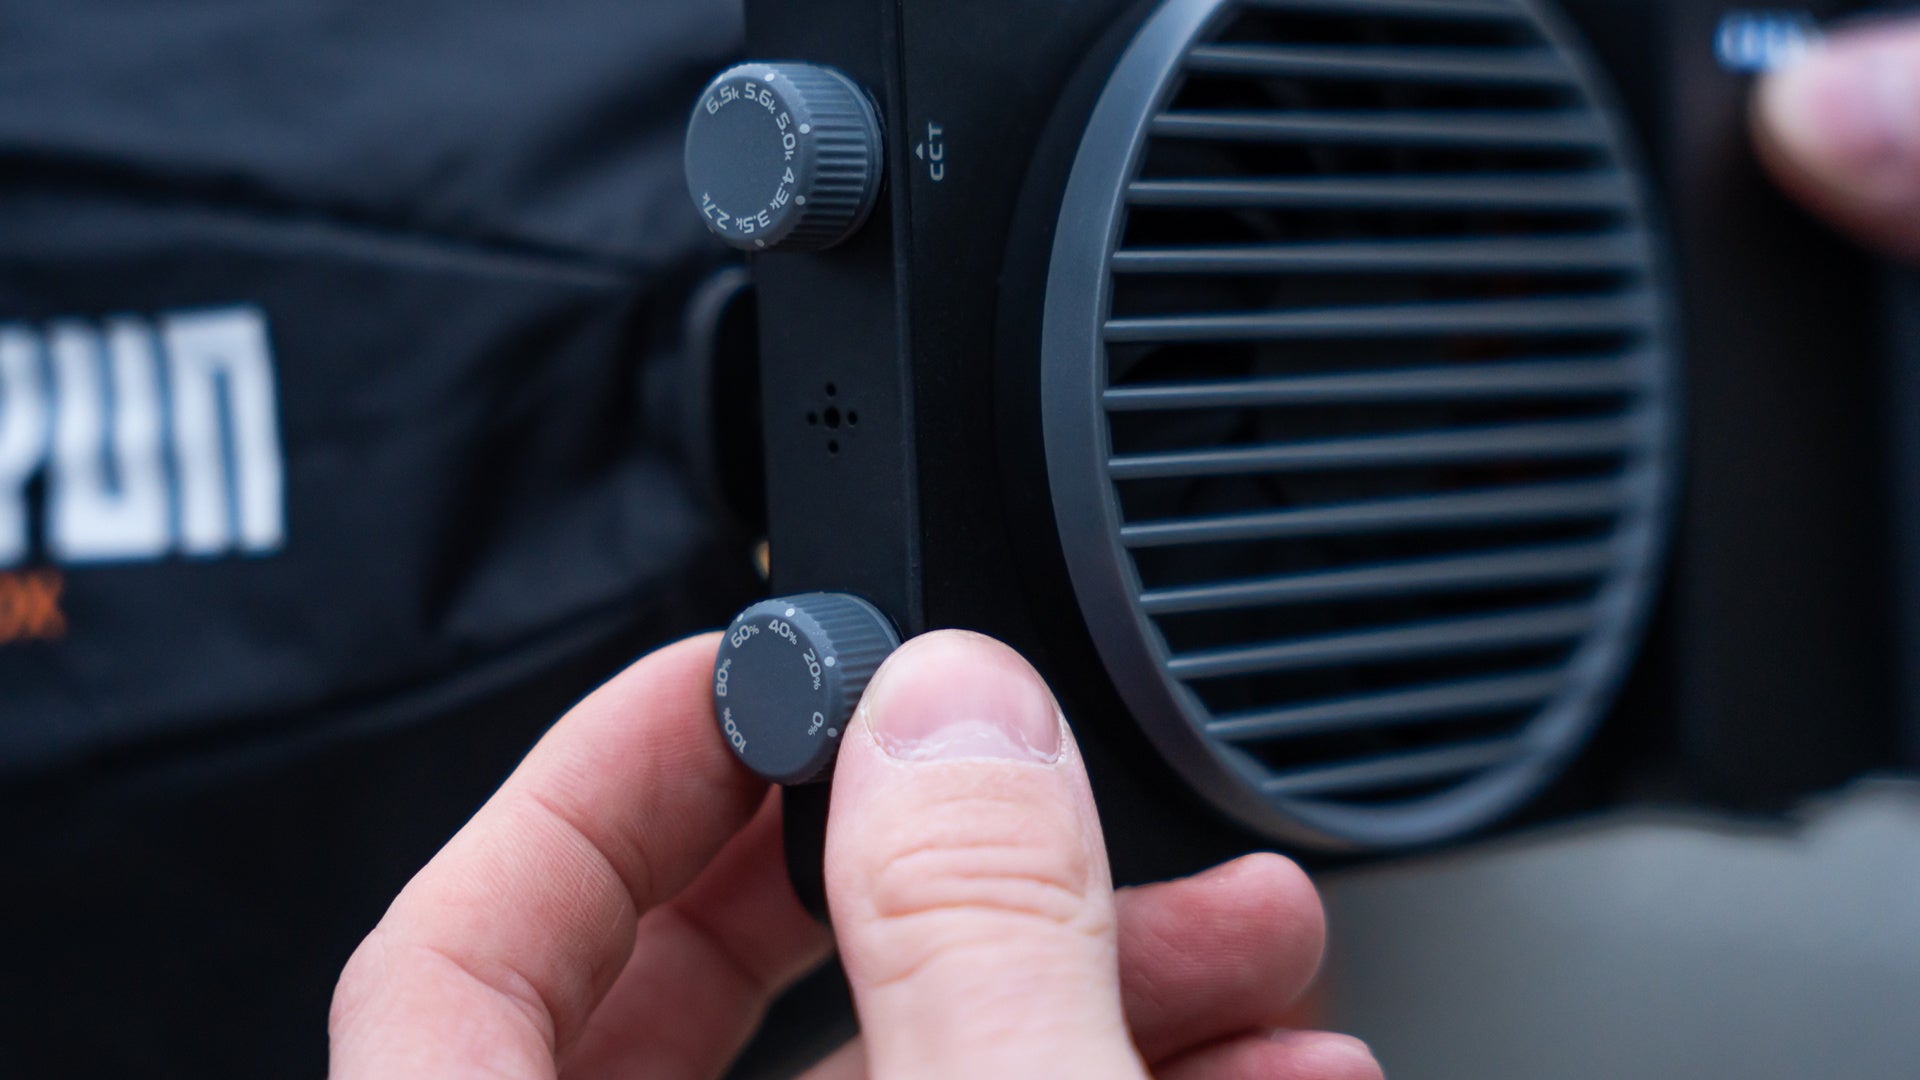
The right lighting gear can make a significant difference in your night photography. One standout product is the ZHIYUN CINEPEER CX100 photography light, a compact yet powerful 100W light. Weighing just 710g and fitting comfortably in your hand, it delivers an impressive 3840Lux brightness, making it ideal for night time photography. The ZHIYUN CX100 light’s pro color rendering (2700K-6500K, CRI≥96, TLCI≥97) ensures true-to-life colors, while the dual-dial design allows easy control over color temperature and brightness. Additionally, its versatile expandability lets you attach various accessories, and its multiple power solutions, including a built-in 4500mAh battery, ensure uninterrupted shooting during extended sessions.
- Techniques for Adding Light
- Light Painting
Light painting involves moving a light source within the frame during a long exposure to create patterns or illuminate specific areas. Here’s how to do it:
- Set your camera on a tripod and select a long exposure time (10-30 seconds).
- Use a flashlight or LED light to “paint” over areas you want to highlight.
- Experiment with different light sources and colors for creative effects.
- Using Flash
Flashes can be tricky to use at night but are incredibly effective. Here are some tips:
- Off-Camera Flash: Position your flash away from the camera to create depth and avoid harsh shadows.
- Diffusers: Soften the flash light with diffusers to prevent overexposure and create a more natural look.
- Rear-Curtain Sync: This setting allows the flash to fire at the end of the exposure, which can create interesting light trails behind moving subjects.
- Ambient Light Utilization
Natural ambient light sources like street lamps, neon signs, and moonlight can add a unique character to your night photos. Here’s how to make the most of them:
- Positioning: Position your subject to take advantage of existing light sources.
- White Balance Adjustment: Adjust your camera’s white balance to match the light source for more accurate colors.
- Exposure Bracketing: Take multiple shots at different exposures to capture the right balance of ambient light.
- Post-Processing for Enhanced Lighting
Even with perfect lighting techniques, post-processing can enhance your night photos. Use software like Adobe Lightroom or Photoshop for the following adjustments:
- Exposure and Contrast: Fine-tune the exposure and contrast to bring out details.
- Noise Reduction: High ISO settings often introduce noise, which can be reduced in post-processing.
- Dodge and Burn: Lighten or darken specific areas to draw attention to your subject.
- Creative Ideas for Night Photography Lighting
Here are some creative ideas to inspire your night photography:
- Star Trails: Use long exposures to capture the movement of stars across the sky.
- Urban Landscapes: Incorporate city lights and reflections for dynamic compositions.
- Portraits: Use subtle lighting to create dramatic, moody portraits.
- Light Orbs and Spirals: Create orbs and spirals by spinning lights during a long exposure.
Conclusion
Adding light to night photography requires practice and creativity. By understanding the basics, choosing the right equipment, and experimenting with various techniques, you can create stunning night photos that captivate and inspire. Whether you’re painting with light, using a flash, or enhancing ambient light, the possibilities are endless. So, grab your camera and illuminate the night!
FAQ:
Q: What role does light color temperature play in night photography?
A: Light color temperature significantly impacts the mood and aesthetic of night photos. Warm lights (around 2700K-3500K) create a cozy, nostalgic feel, while cooler lights (5000K-6500K) can convey a more clinical, modern look. Mixing light temperatures can add depth and interest to an image. Setting your camera’s white balance manually or using post-processing to adjust the color temperature can help achieve the desired effect.
Q: How do I avoid lens flare when using additional lights at night?
A: To minimize lens flare, position your lights at an angle to the lens rather than directly in front of it. Using a lens hood can block stray light from hitting the lens directly. Additionally, keeping your lens clean and using high-quality, multi-coated lenses can reduce flare. If flare does occur, adjusting your composition or using post-processing tools to reduce it can also be effective.
Q: How do I balance artificial light with ambient light in night shots?
A: Balancing artificial light with ambient light requires adjusting the intensity and color temperature of your artificial lights to match or complement the existing ambient light. Use a light meter to measure the ambient light and set your artificial lights accordingly. Adjust the white balance on your camera to match the light sources. Often, warming gels on your lights can help match the color temperature of streetlights, which are typically warmer.

Q: What techniques can I use to prevent light from appearing too harsh in night photos?
A: To soften harsh light, use diffuser or softbox that spread the light over a larger area, reducing harsh shadows. Bouncing light off walls or ceilings can also soften it, creating a more natural look. Reflectors can help redirect light into shadows without adding harshness. Adjusting the distance of the light source from your subject can also affect the softness of the light.


